It’s done! My porch is done! I’m so excited to finally share my finished porch for the One Room Challenge, hosted by Linda from Calling It Home. It was so, so much work; about 50% of it was my husband building new railing, 49% of it was painting, and only 1% was the fun stuff, like pillows and accessories. But that’s how it goes, right?
First, I’ll take you on a little tour and describe some of the changes we made.
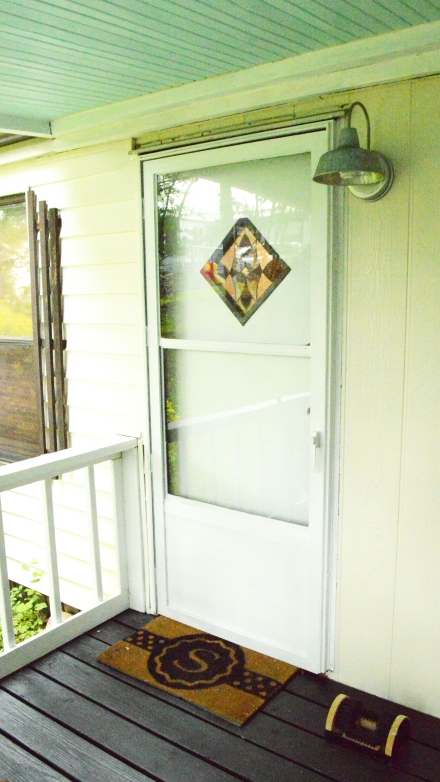
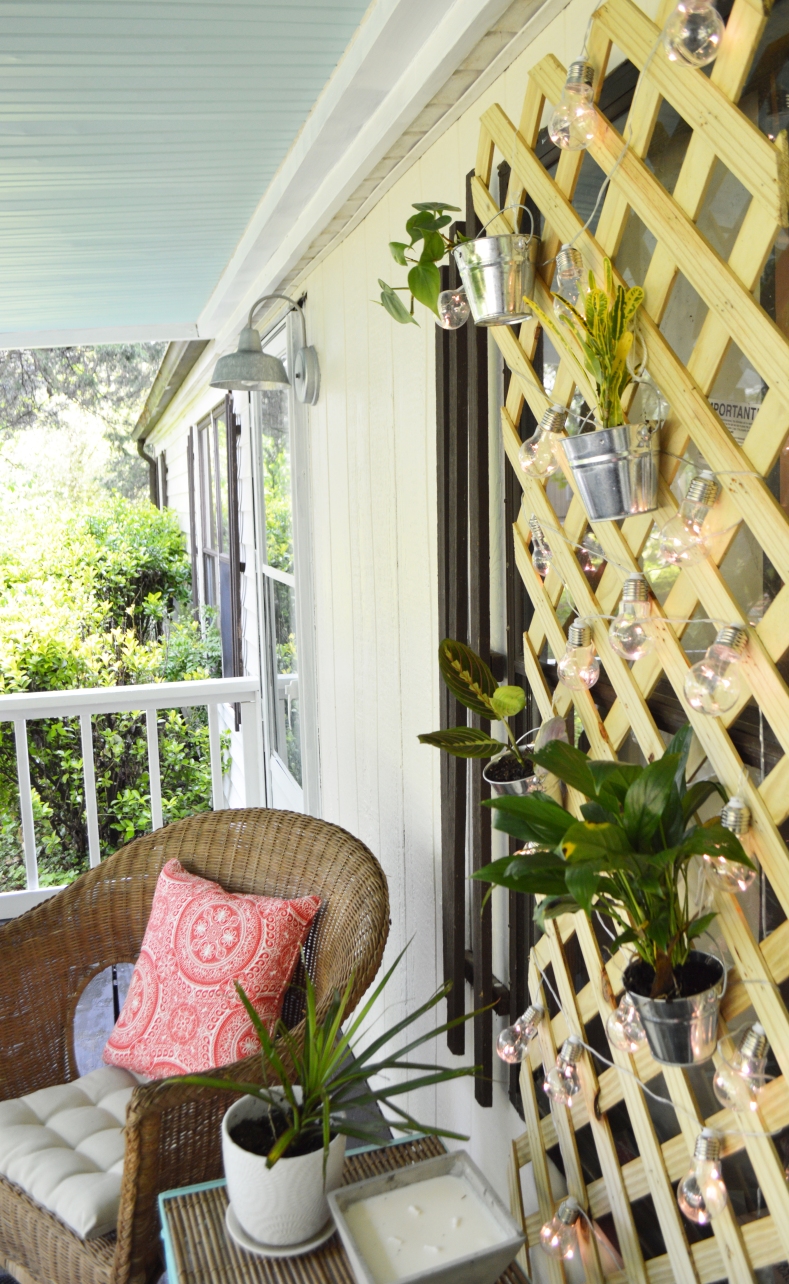
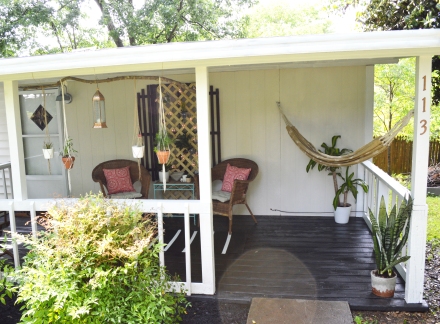
Beginning with the front door, I painted the door and screen door to lighten it up a bit, painted the trim white, and changed out the lighting fixture. This one ($29 from Lowe’s) gives the whole porch a warm, homey glow.
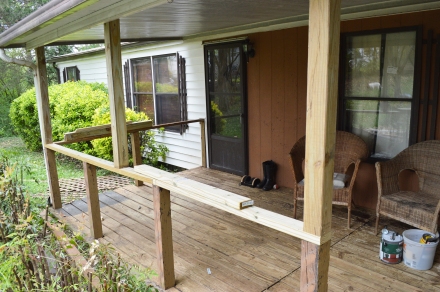
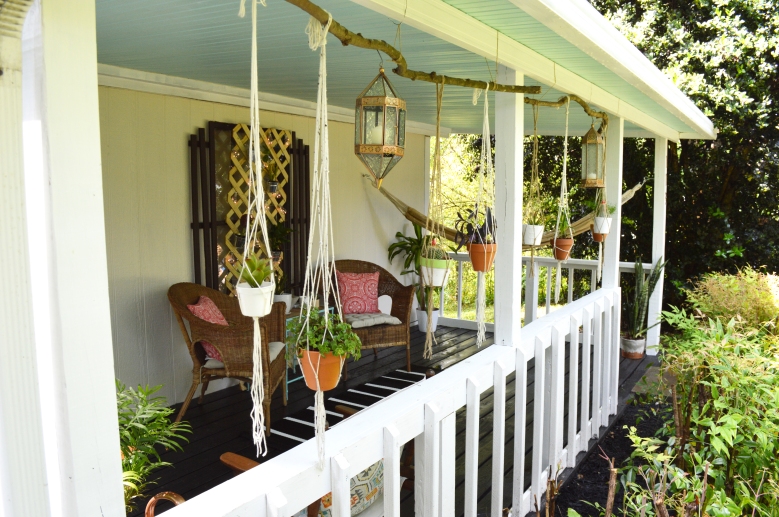
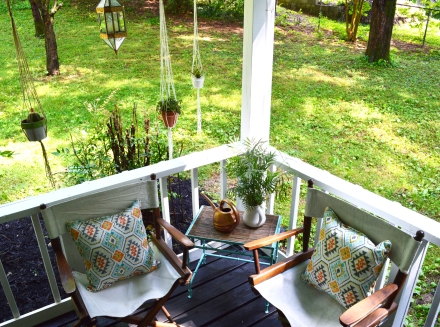
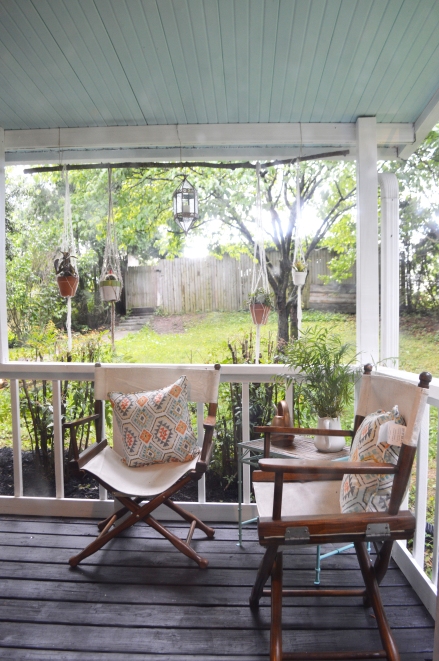
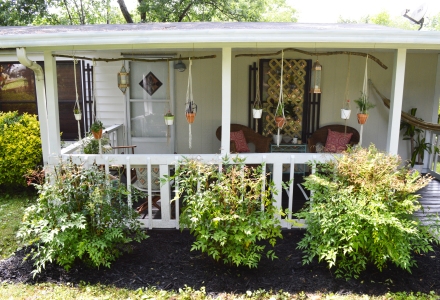
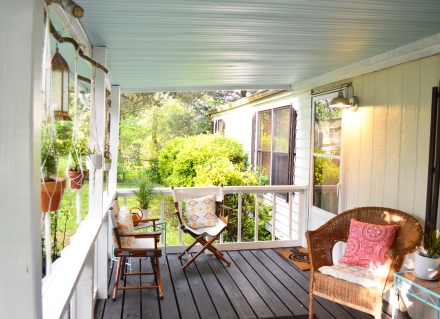
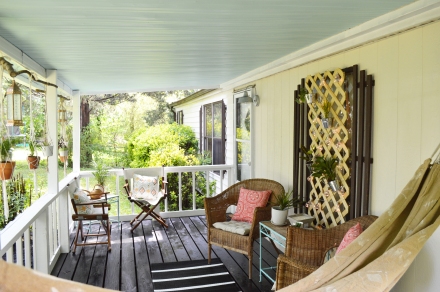
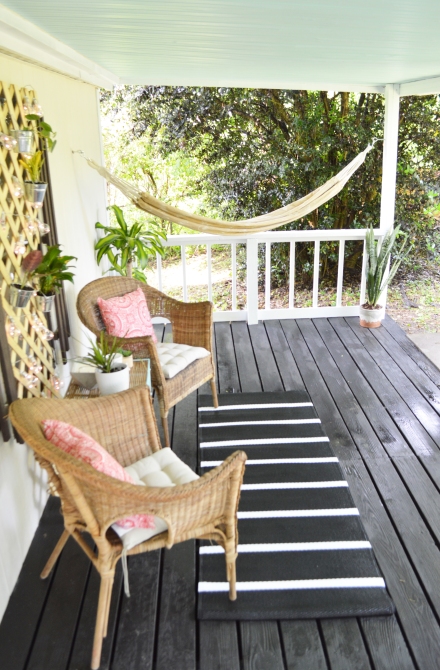
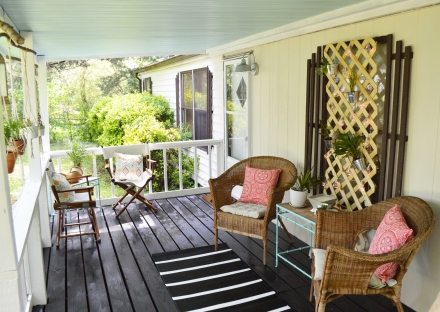
In weeks 3 and 4 you saw that Luke took down all the trellis and built a real porch railing. That and painting every surface on this porch clearly made the biggest impact. It’s truly amazing what a difference paint can make. I painted the ceiling in a pretty, aqua blue color, painted the paneling in the front of the house one shade darker than the other half of the house (although I’m reconsidering that color), painted the floors black, and painted all the trim white.
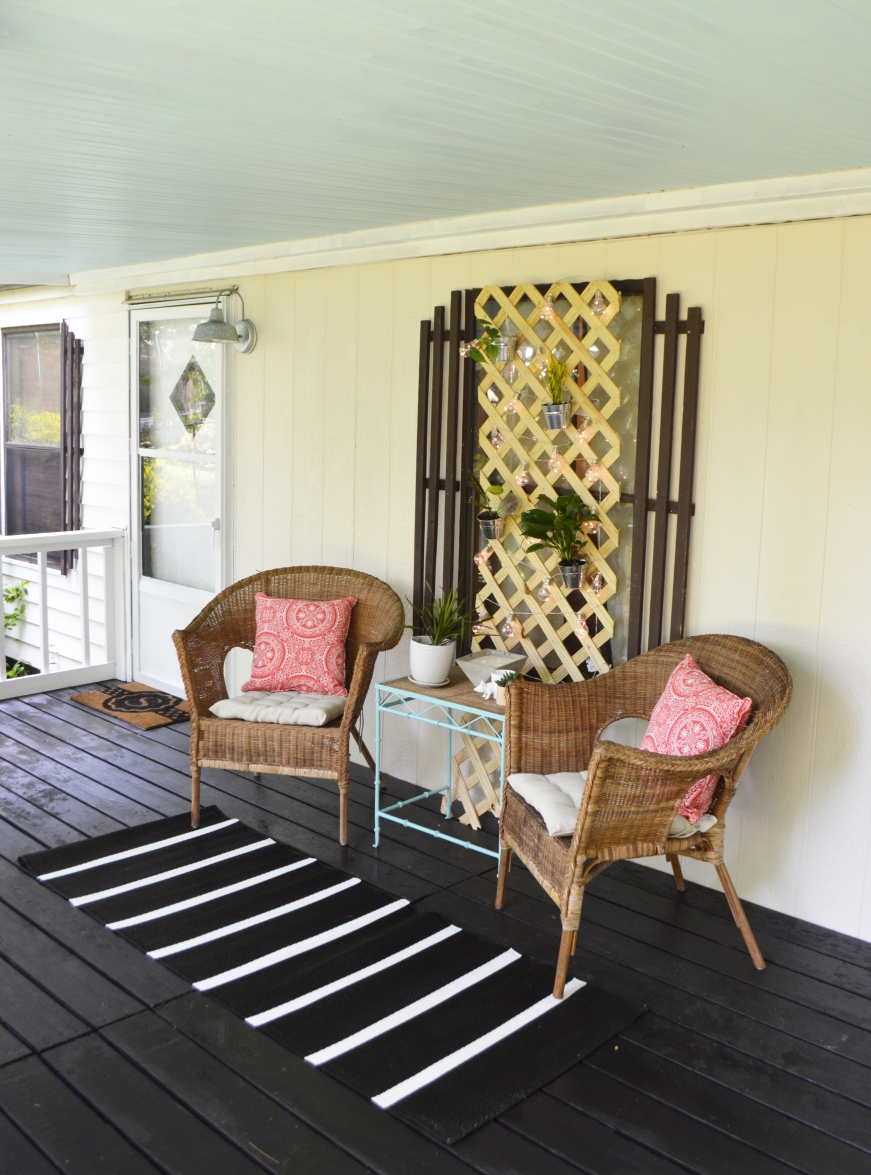
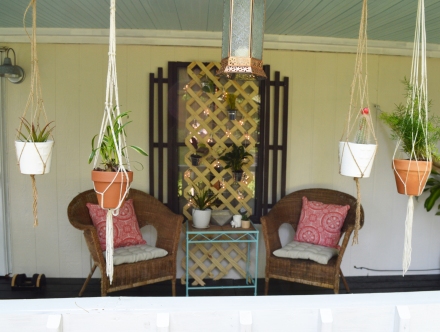
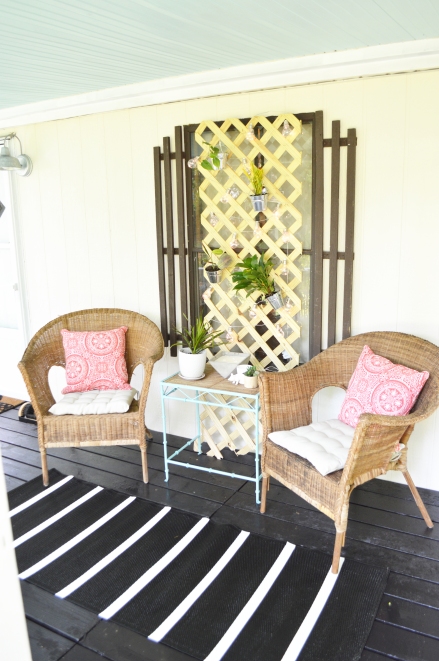
As you can see, I added trellis in front of the window as sort of a focal point, but it also serves as a privacy screen for my boys’ room (right inside the window with no blinds). I added lights (had to have some sparkle, obviously) and tiny potted plants.
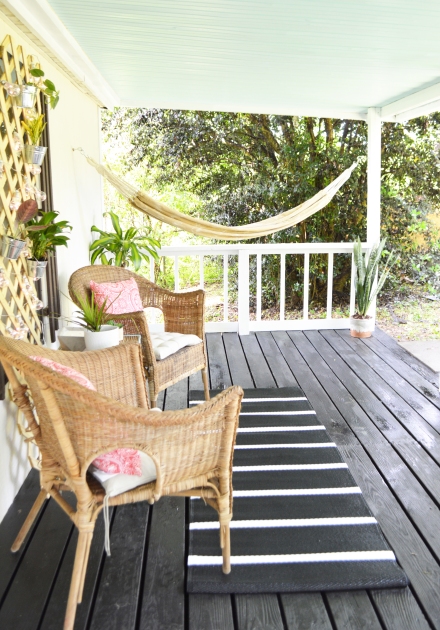
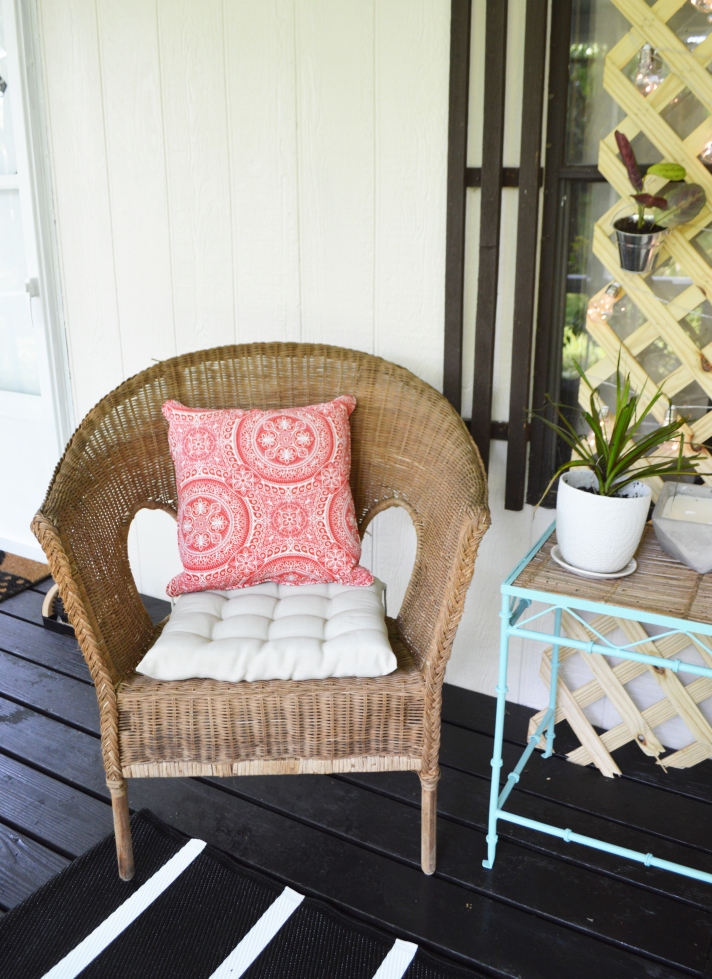
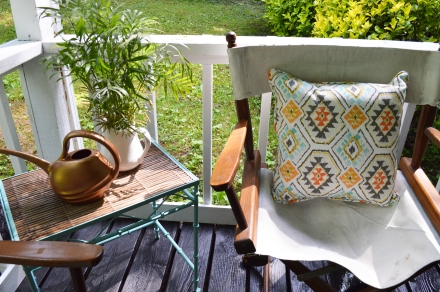
In week 2, I painted and stained those $4 nesting tables from a yard sale. I also stained the old IKEA chairs a tiny bit darker, and gave them new cushions from HomeGoods for a pop of color.
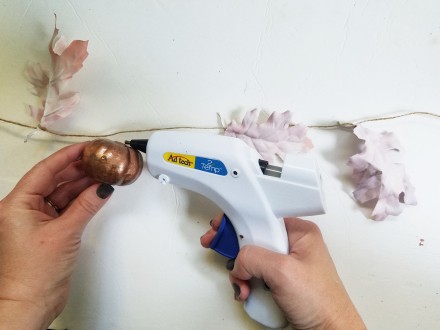
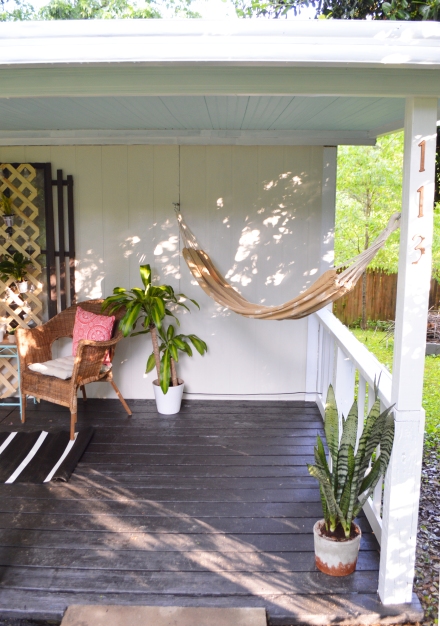
This little corner might be my favorite. I added a few plants and hung our hammock (can’t wait to use that!). I also spray painted some little $1.50 house numbers copper to display at the entrance.
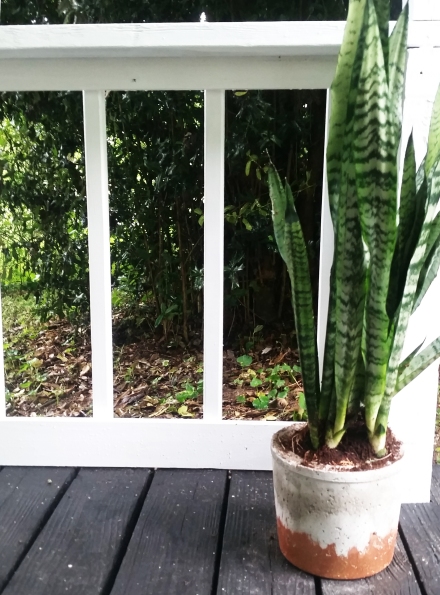
I’m really proud of this DIY planter I made from concrete and copper liquid metal, using this super simple tutorial from Happy Looks Good On You. I’ll definitely be using more concrete in the future; at $5 a bag, the possibilities are endless.
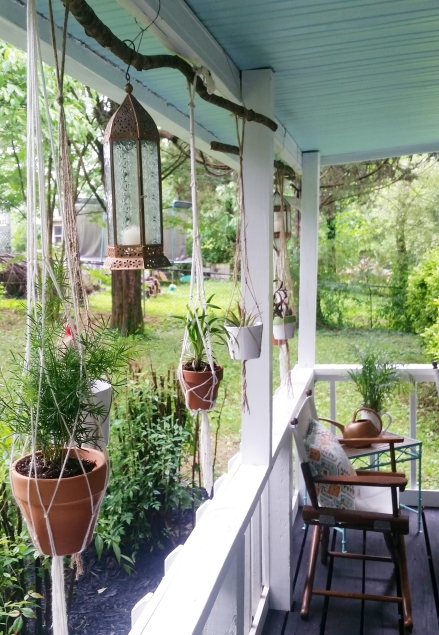
Moving right along, I added mulch to emphasize the garden area, and hung branches from my yard, planters, and lanterns to add a little privacy. But clearly, my husband’s porch railing is the star of the show here.
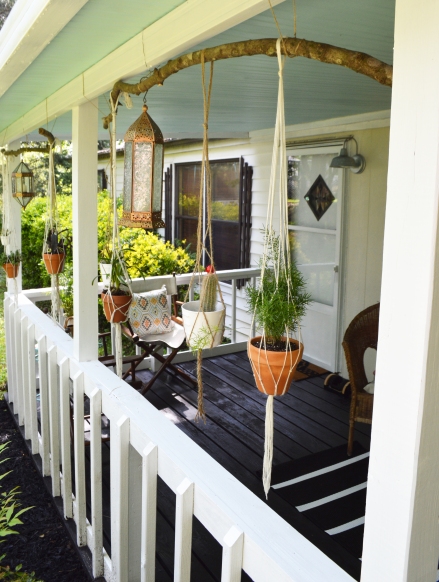
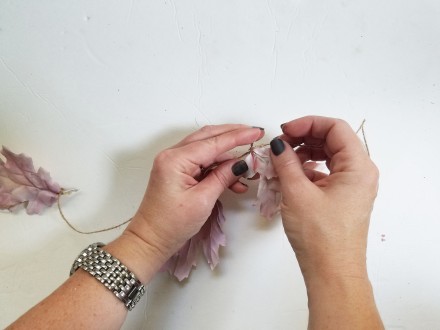
I made hangers for my tiny potted plants with yarn and twine I had on hand using this tutorial, another quick and easy DIY from Free People’s blog (after figuring out how to make the first one, the rest took only about 10 minutes each).
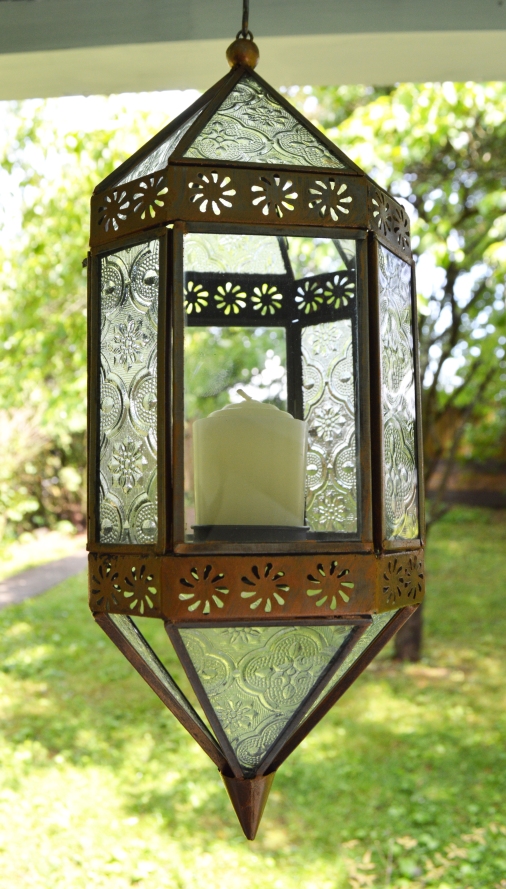
The lanterns are from World Market; they were originally an antique pewter, but I painted them copper.
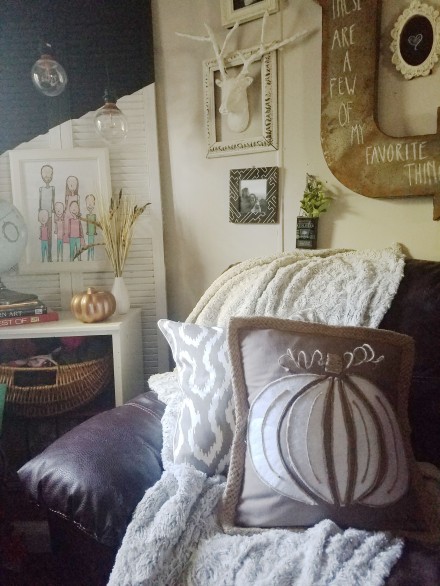
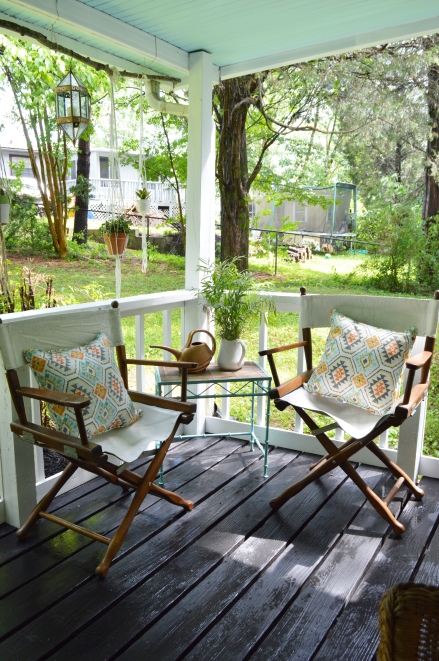
For this corner, another favorite, I gave the director’s chairs a little makeover by painting the canvas with off-white chalk paint, giving them a coat of Minwax Spar Urethane to make them outdoor friendly, and adding throw pillows.

The pillows are, again, from HomeGoods. The little watering can was $3 from Lowe’s (originally red, but I spray painted it copper). Hopefully it will remind me to water my plants and keep them alive.
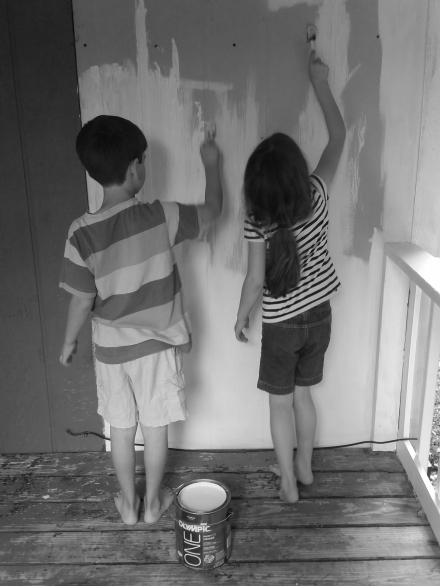
And that’s that! I had lots of help from my hubby and even my kids got in on the painting action.
Now, just in case you’ve forgotten, here are a few before and afters to remind you of where we started:
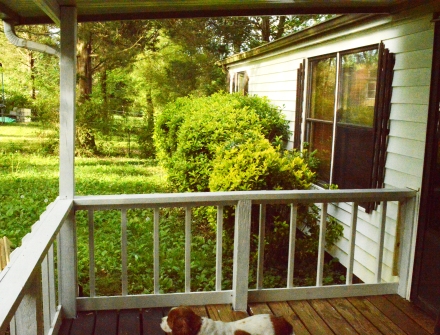
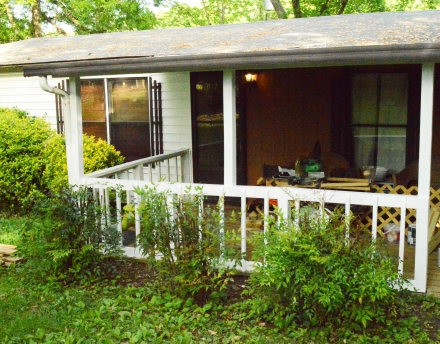
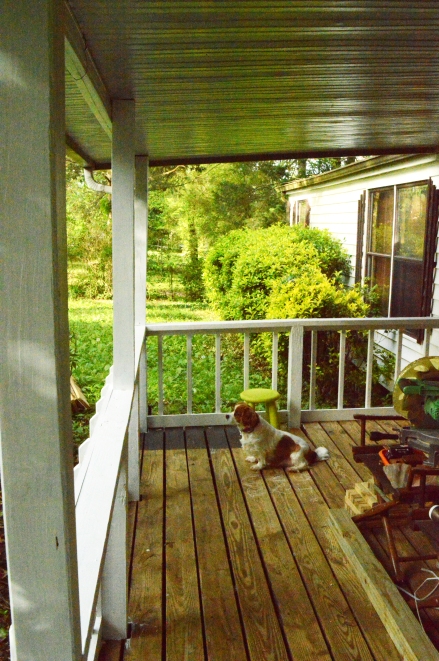
Before:
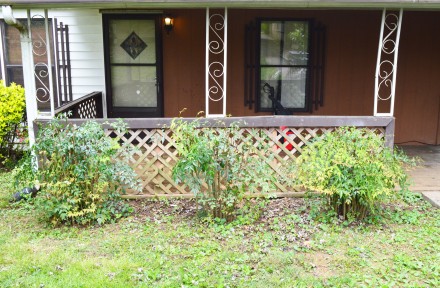 After:
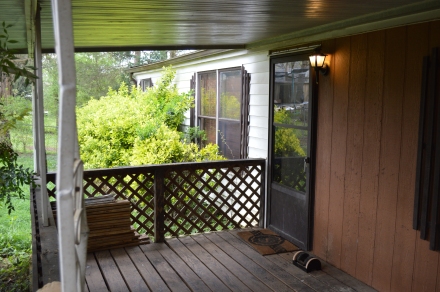
Before:
After:
Before:

Before:

Before:

After:
Before:

After:
As for the budget, I originally told you that I would stay within $200. That was before my husband decided to rebuilt the porch. Since the original plan was to just paint everything, I’m not counting what he spent in my budget. I know, that’s totally cheating, but that was his project.
Here’s the breakdown for my budget:
Floor Paint: $35
White Kilz Paint (for railing, trim, etc.): $17
Ceiling/Table Paint (I got 4 $3 paint samples because I didn’t want to buy a whole gallon…I’m a cheapskate!): $12
House Paint: $30
Stain for Furniture: $9
Spar Urethane: $10
Chalk Paint: $6
Copper Liquid Metal: $3.50
Light Fixture: $30
Pillows: $40
Lanterns (Splurge!): $37
Trellis: $7
Concrete: $5
Buckets for Molds: $5
House Numbers: $4.50
Plants (I bought some, borrowed some from the rest of the house, and got some from my Mom): $25
Mulch: $10
Watering Can: $3
Total: $289
So, yeah, I still went over quite a bit, without even counting the work that my husband did. But I still think I did pretty darn good for the amount that I accomplished with that money. I’ve opened my front door just to look out at it just about 50 times since I finished it. It makes me very happy and proud to be finished, and I can’t wait to spend lots of time on it this summer, reading a book in my hammock, listening to my kids playing and laughing. Although, I have a sneaking suspicion that it will sound a little more like kids fighting over the hammock, and me yelling at the kids and the dog to not get mud all over the furniture, but hey, one can dream.
Now that I am done (hallelujah!) and have a little time on my hands, I’m going to head over to the One Room Challenge and check out all of the other bloggers’ reveals, so I hope you’ll join me! I’ll leave you with a few more pictures.
Rachel
I’m also sharing this makeover over at these fantastic link parties:
Made by You Monday at Skip to My Lou
Remodelaholic
Home Stories A to Z
Inspire Me Monday
Dream. Create. Inspire.
Wow Us Wednesdays
Work It Wednesday
Pretty Project Party